It’s a universal feeling for any Birmingham homeowner: that sinking pit in your stomach when you spot a fresh water stain on the ceiling after a big storm. Those first few hours are absolutely critical. What you do right away—focusing on safety, stopping more damage, and grabbing your policy paperwork—can make or break your entire roof insurance claim process. Getting these first moves right sets you up for a much smoother ride.
What to Do Immediately After Discovering Roof Damage
Prioritize Safety Above All Else
Before you even think about calling your insurance agent, you have to make sure your home is safe. Water coming into your house can create some serious hazards that need your immediate attention.- Check for Electrical Dangers: Is water dripping anywhere near light fixtures, outlets, or your electrical panel? If so, head straight to the circuit breaker and shut off the power to that part of the house. Water and electricity are a lethal mix.
- Assess Structural Integrity: Take a hard look at your ceilings and walls. Do you see any sagging or bowing? Those are signs of major structural trouble. If you do, get everyone out of that area right away and call a professional for an emergency look.
Mitigate Further Damage Responsibly
Your insurance policy actually requires you to take reasonable steps to prevent a bad situation from getting worse. It's often called your "duty to mitigate," and if you ignore it, you could put your whole claim at risk.Think about it: if a fallen branch has punched a hole in your roof and rain is pouring in, you can’t just let it happen. You need to take temporary action. This might mean setting out buckets to catch the drips or—only if you can do it safely—getting a tarp over the hole.
Key Takeaway: Document everything before you touch a thing. Snap clear photos and take video of the damage before you start any temporary patch-ups. This is your proof of how bad the storm's initial impact was.Make sure to keep every single receipt for things you buy for these temp fixes, like tarps or plywood. Those costs are usually reimbursable as part of your claim. If the storm affected your roof, review our storm damage roof repair service to understand the inspection and repair process.
Review Your Insurance Policy Details
Now, before you get on the phone with your insurance company, find your homeowners policy documents. Getting a handle on a few key details will give you a ton of confidence for the conversations to come. Look for:- Your Deductible: This is the amount you have to pay out-of-pocket before the insurance money kicks in. Watch out—many policies have a separate, higher deductible for wind or hail damage.
- Reporting Deadlines: Your policy will spell out how long you have to report a claim. Don't wait.
- Coverage Limits: It’s good to know the maximum amount your policy will pay out for roof repairs or a full replacement.
Building a Bulletproof Record of Your Damage
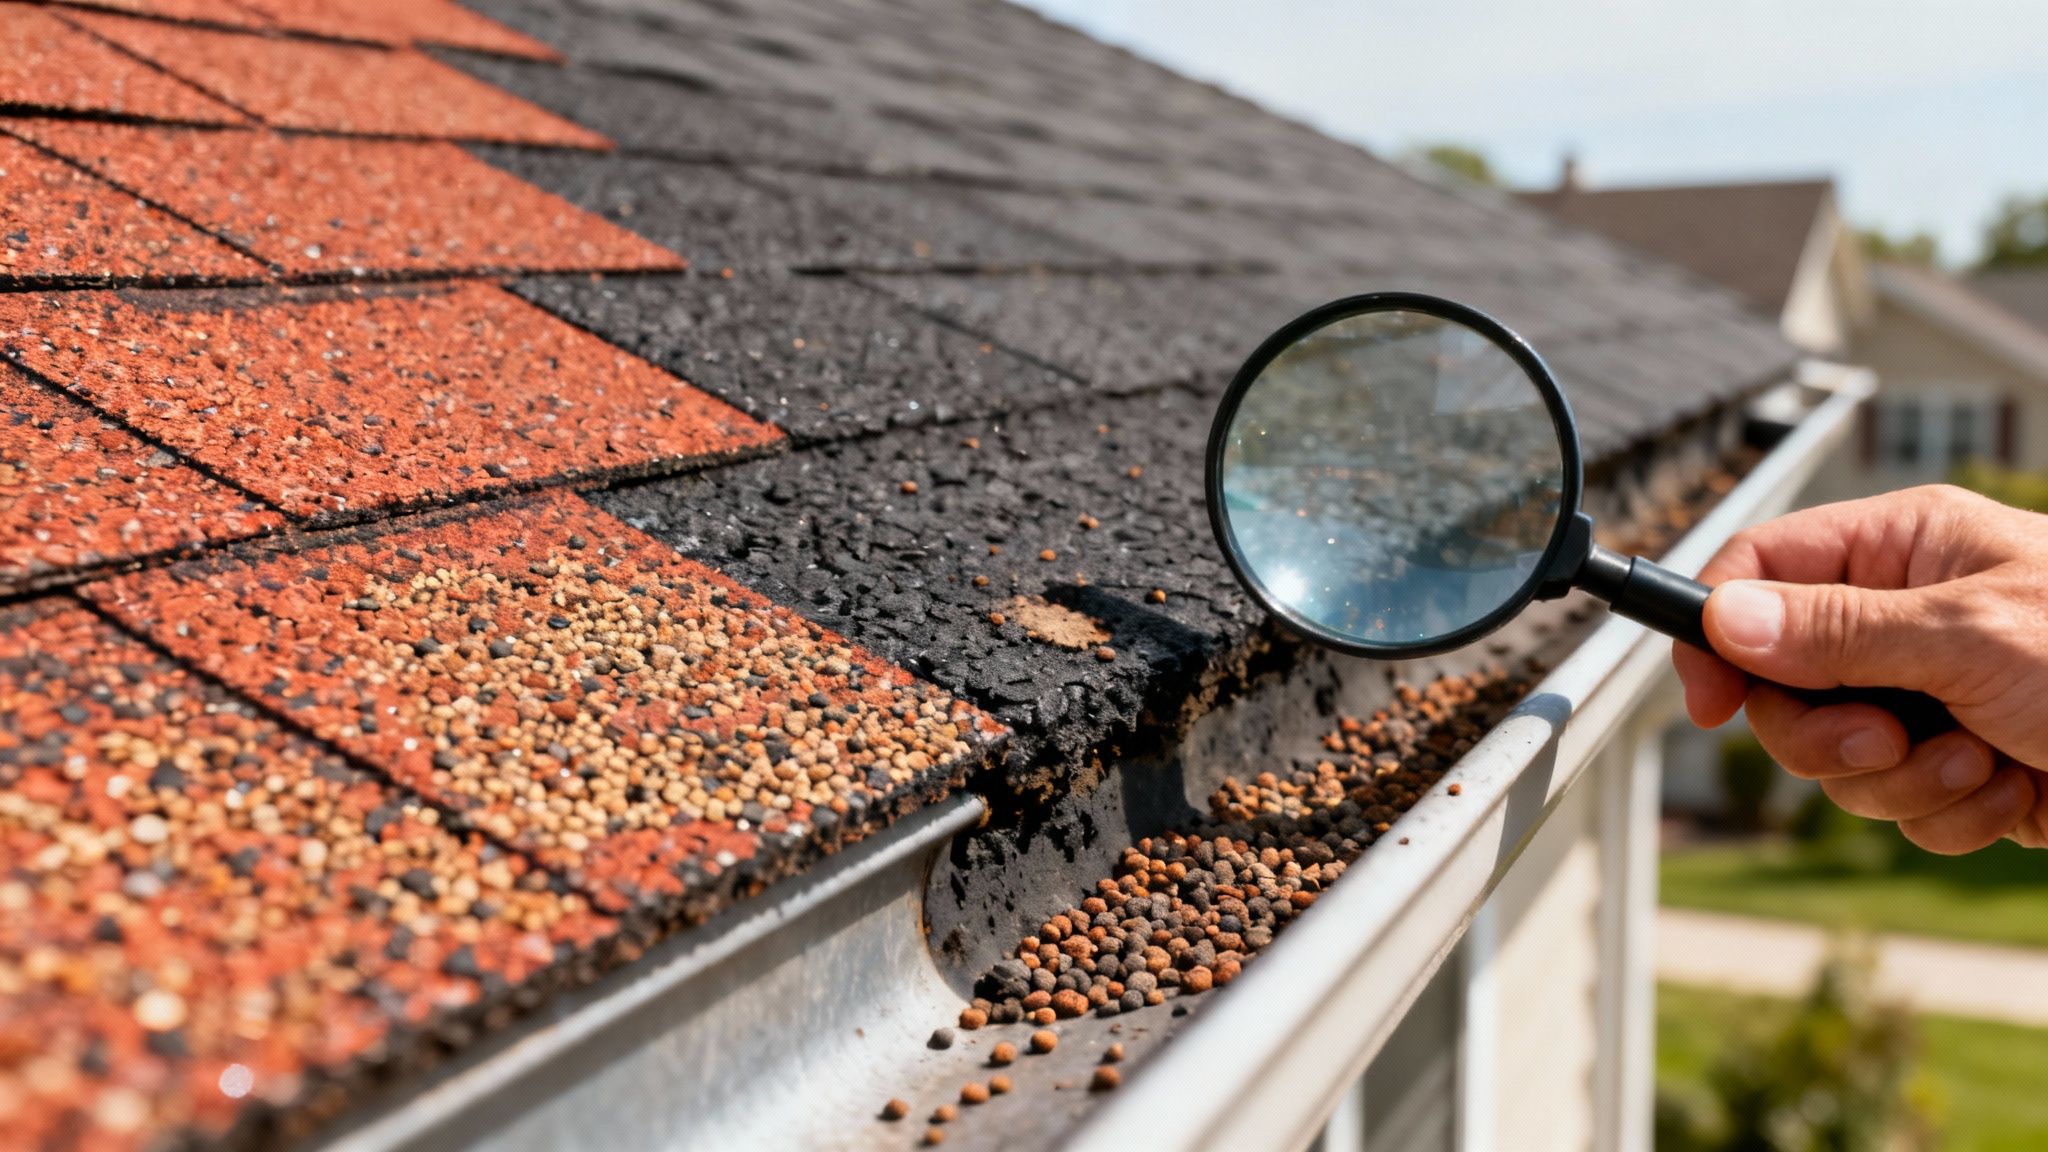
An insurance adjuster works off of clear, documented evidence. Damage from a central Alabama hailstorm can be subtle; what looks like a few missing granules to you could be a sign of a bruised shingle that’s going to leak in six months. Your job is to document everything so there’s zero doubt about what the storm did to your home.
Your Essential Documentation Checklist
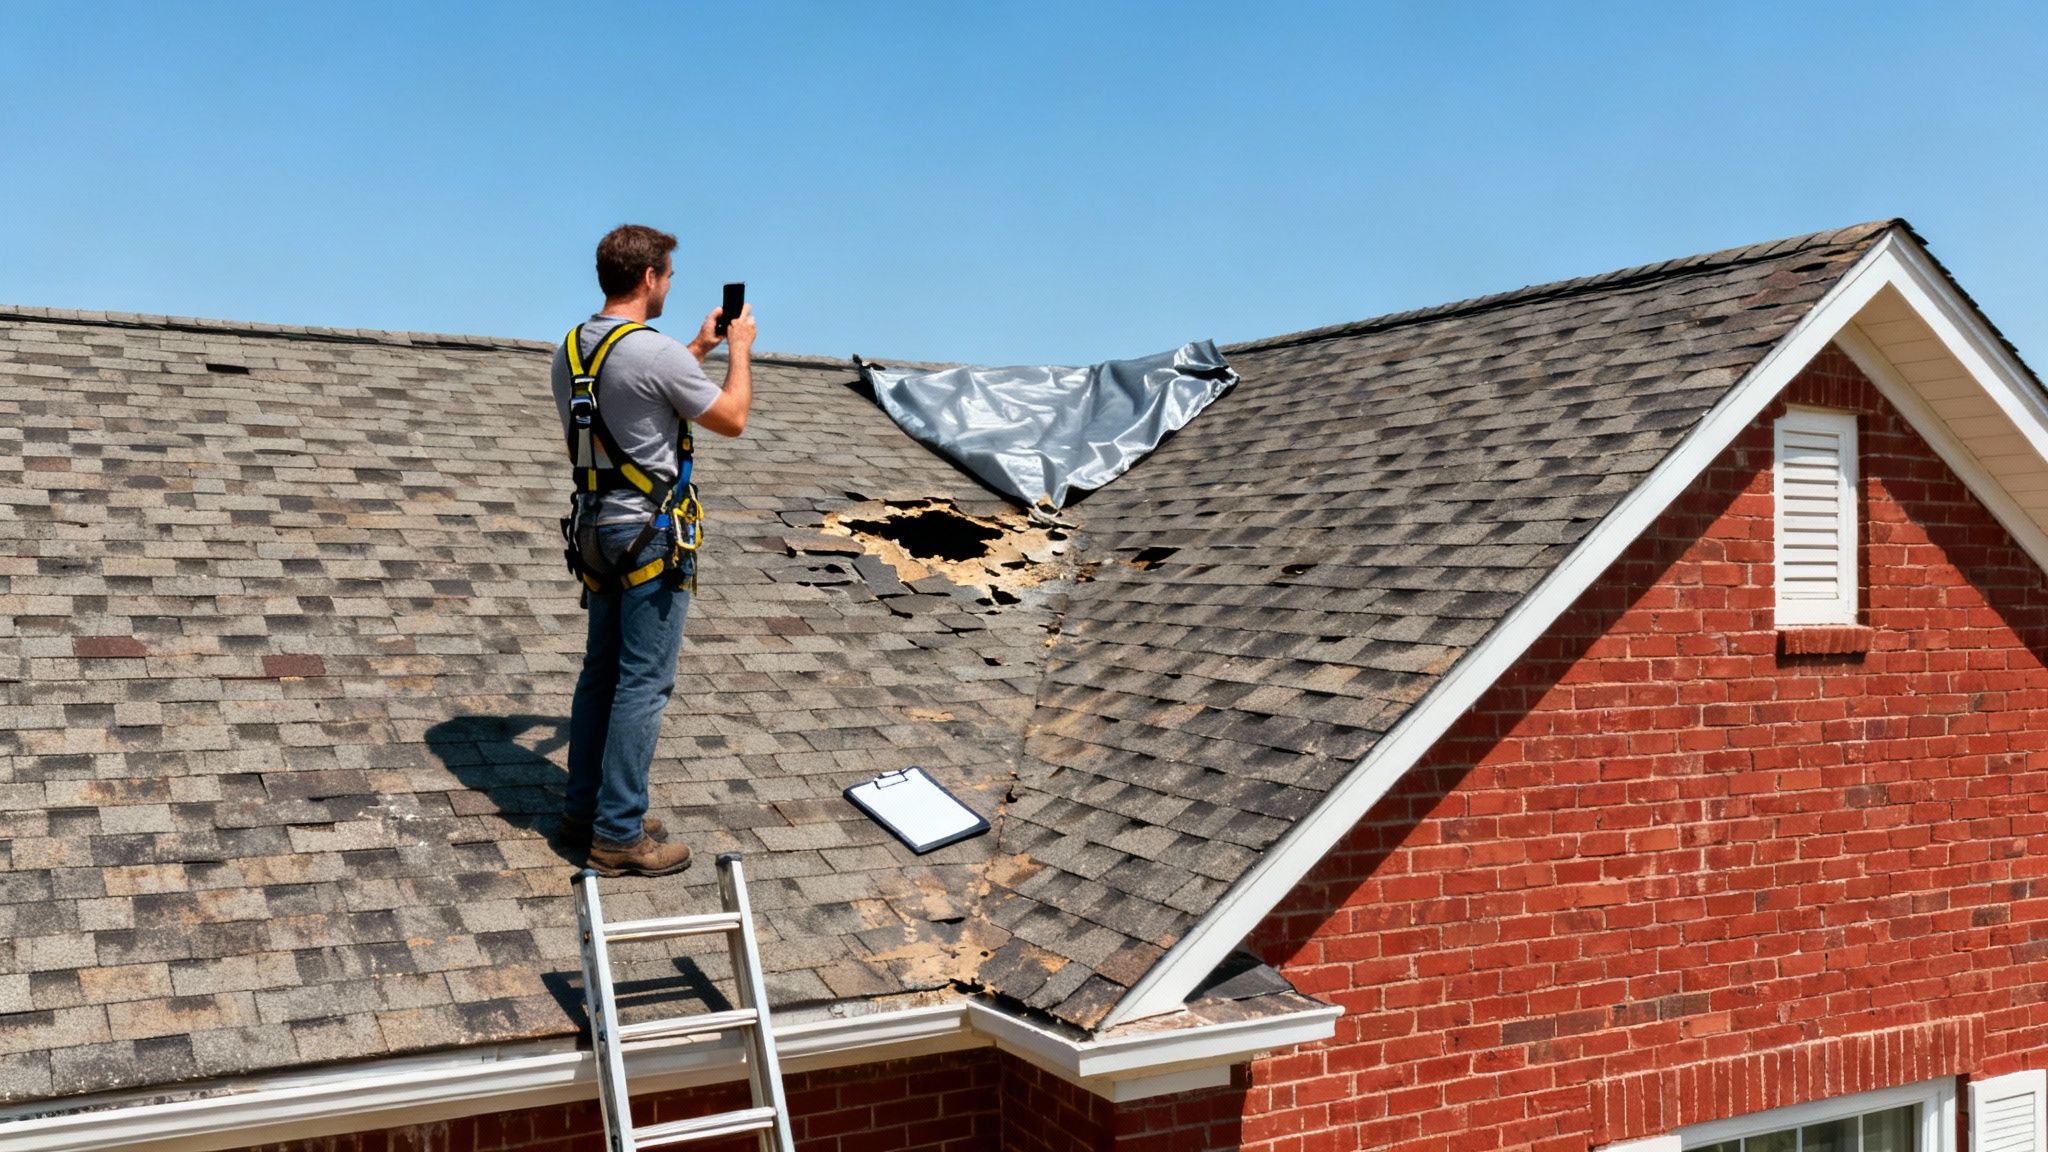
Don’t just snap a few quick photos from your driveway. A truly comprehensive visual record is your best weapon. You need to methodically walk the entire property—inside and out—to capture the full scope of the damage.Make sure your photo and video collection includes:
- Wide shots of every side of your roof to give the adjuster a complete overview.
- Close-ups of any obvious damage—think missing shingles, cracked tiles, or dents in your gutters and flashing.
- Proof of scale. Place a coin or a measuring tape right next to hail impacts to show their actual size. This is huge.
- Interior damage. Don’t forget to look up. Capture any water stains on the ceiling, bubbling paint, or active drips in your attic.
- "Collateral damage" to things like your siding, windows, deck, or even your AC unit. This helps paint a picture of the storm's intensity.
Pro Tip: Dig up any photos you have of your roof from before the storm. A clear "before and after" comparison is incredibly powerful. It instantly shuts down any argument that the damage was just pre-existing wear and tear.
Create a Simple Storm Log
Pictures tell a lot, but a written record fills in the blanks. Just open a note on your phone or grab a pad and paper and jot down the key details while they’re still fresh. This little log will be invaluable when you’re on the phone with your adjuster a few days later.Be sure to include:
- Date and Time: Pinpoint the exact day and the approximate time the storm rolled through.
- Weather Details: What was it like? High winds? Torrential rain? What size was the hail—was it pea-sized, quarter-sized, or bigger?
- Emergency Repairs: Did you have to run out and buy a tarp or call someone to patch a hole? Keep every single receipt. These temporary fixes are almost always reimbursable.
Filing Your Claim and Meeting the Insurance Adjuster
With your photos and notes in hand, it's time to make the call and officially start the roof insurance claim process. This is where you shift gears from documenting the damage to actively working with your insurance company. My advice? Don't delay, but don't rush in unprepared, either.When you call their claims department or log into their online portal, have your policy number right in front of you. Be ready to give them the facts from your storm log—the date of the storm, the specific damage you’ve seen (missing shingles, dented gutters, leaks inside), and any temporary repairs you’ve made. This first conversation really sets the tone for everything that follows.
Preparing for the Adjuster's Visit
Once your claim is filed, the insurance company will assign an adjuster to your case. This person is responsible for visiting your home, inspecting the damage firsthand, and ultimately determining how much the insurance company will pay for repairs. Their inspection is probably the single most important event in your entire claim.Think of this visit as your chance to present your side of the story. Have your folder of photos, videos, and receipts ready and organized. When the adjuster shows up, I always tell homeowners to walk the property with them. Don’t just hand over the keys. Politely point out every single thing you documented—the scraped-up shingles, the dented flashing, and especially that water stain that appeared on the ceiling after the storm.
Expert Insight: I can't stress this enough: Never assume the adjuster will see everything. After a big storm hits central Alabama, these folks are swamped, often juggling dozens of claims a day. By being there to guide them, you make sure nothing gets missed and show that you're on top of things.It's also important to be patient. After a major weather event, the system gets bogged down. In 2024, hail damaged over 12 million properties across the U.S. In some areas, that led to a 65% spike in roof-related claims, creating a huge backlog for adjusters. Stay persistent, but understand that delays can happen. If you're curious about the bigger picture, you can explore more about how weather impacts roofing claims on Rooflink.com.
Understanding Key Insurance Terms
After the inspection, the adjuster will write up their report, and you'll get a settlement offer. This document can feel like it's written in another language, full of industry jargon. To make sense of your offer, you need to get familiar with the lingo.Let’s break down the most common terms you’ll run into.
Key Insurance Claim Terminology Explained
| Term | What It Means for You |
|---|---|
| Actual Cash Value (ACV) | This is what your old, damaged roof was worth right before the storm. It accounts for depreciation (age, wear and tear). An ACV-only payment will not be enough to cover the full cost of a brand-new roof. |
| Replacement Cost Value (RCV) | This is the full amount it costs to replace your roof with a new one of similar quality at today's prices. There's no deduction for depreciation. Most RCV policies pay in two installments. |
| Depreciation | The amount of value your roof has lost over time. This is the difference between RCV and ACV. |
| Recoverable Depreciation | On an RCV policy, this is the second check you receive. You get it after you prove the roof replacement is complete by submitting the contractor's final invoice. |
| Deductible | The amount you have to pay out-of-pocket before your insurance coverage kicks in. This amount is subtracted from your total claim settlement. |
Selecting the Right Contractor for Insurance Work

This is the partner who will not only fix your roof but also fight for the true scope of work needed to do it right.
Choosing your contractor is easily one of the most important decisions you’ll make during this whole process. You aren’t just hiring someone to hammer down some shingles. You’re bringing in an expert who gets the nuances of storm damage here in central Alabama and knows how to talk to your insurance company. This is a big deal, especially for older roofs that insurers tend to examine with a magnifying glass.
Finding a Reputable Insurance Claim Specialist
Let’s be clear: not all roofers are created equal, especially when an insurance claim is on the line. You need someone who speaks the language of adjusters and knows precisely how to document damage in a way that gets approved.Start your search locally. A Birmingham-based roofer lives and breathes the local building codes and understands our unique weather patterns.
When you’re vetting potential companies, make sure they check these boxes:
- Licensed and Insured: This is non-negotiable. Ask to see their Alabama state license and proof of both general liability and workers' compensation insurance. A huge part of this is understanding liability insurance for contractors and why it protects you.
- Experienced with Insurance Claims: They should have a portfolio of past insurance jobs and be able to walk you through exactly how they work with adjusters.
- Willing to Provide a Detailed Estimate: A true pro will give you a line-item estimate breaking down the costs for materials, labor, and everything in between. No vague numbers.
The Contractor's Role in Supplementing Your Claim
This is where a great contractor really shows their value. The first estimate you get from the insurance company often misses things. We see it all the time—overlooked flashing damage, underlayment issues, or code-required upgrades that weren't obvious at first glance.A good contractor performs their own meticulous inspection to catch everything required for a complete, code-compliant restoration.
They’ll then put their detailed findings side-by-side with the adjuster’s report. When they find things that were missed, they’ll put together what’s called a supplemental claim. This is a formal request, backed up with photos and cost breakdowns, that explains to the insurer why more funds are needed.
Real-World Scenario: An adjuster might approve replacing the damaged shingles but completely miss that the ice and water shield underneath needs to be replaced to meet current Birmingham building codes. A knowledgeable contractor spots this, documents the code requirement, and submits a supplement to make sure your roof isn't just patched, but brought fully up to standard.This professional advocacy is crucial. It’s the difference between a roof that’s just "good enough" and one that’s properly restored to its pre-storm integrity, protecting its lifespan and your investment.
This matters more than ever, as insurers are tying premiums more closely to roof age. The average premium difference between a home with a new roof and one that’s 11-15 years old has shot up from $49 in 2022 to $155 in 2025. A proper, fully-funded repair helps protect your home’s value and keeps it insurable down the road.
Managing Your Settlement and the Repair Process
Getting that first insurance check in the mail feels like a huge win. You've navigated the inspections and the back-and-forth, and now you have money in hand. But hold on—it's almost never the final step in the roof insurance claim process.Most homeowners are surprised to learn that the settlement, especially with a Replacement Cost Value (RCV) policy, isn’t paid in one big lump sum. Knowing how the payment structure works is the key to managing the actual roof replacement without hitting a financial wall.
The initial payment you receive is for the Actual Cash Value (ACV) of your roof. Think of this as the roof’s current worth after the insurance company subtracts years of depreciation for age, sun exposure, and general wear and tear. This first check, minus your deductible, is designed to give your contractor the funds to get the project off the ground.
Navigating the Two-Check System
So, where's the rest of the money? That comes later.The second and final payment is for the recoverable depreciation. You only get this check after the work is 100% complete and you’ve sent the final invoice from your roofer to your insurance company. It’s their way of making sure you actually use the settlement money to, well, replace the roof.
Here’s a simple breakdown:
- Check #1 (ACV): Your down payment. This gets materials ordered and the crew scheduled.
- Check #2 (Recoverable Depreciation): Reimburses you for the value lost to depreciation once the job is proven complete.
The Mortgage Company Hurdle
Here’s a curveball many Birmingham homeowners don't see coming. If you have a mortgage, your insurance check will almost certainly be made out to both you and your mortgage lender. Why? Because the bank has a financial stake in your property, and they want proof that their investment is being properly repaired.Key Takeaway: You’ll have to contact your mortgage company's "loss draft department" to figure out their specific procedure for endorsing the check. This often involves a frustrating amount of paperwork and sometimes even their own inspections. Start this process the day you get the check to avoid stalling your roof repairs.
From Contract to Completion
Once you have the initial funds cleared and your lender's signature, it's time to sign the final work agreement with your roofer. From there, they’ll schedule material delivery and lock in a start date. This is when things finally start happening and you see your new roof come to life.After the last shingle is nailed down and the site is cleaned up, your contractor will give you two critical documents: a final invoice and a certificate of completion. You’ll send these straight to your insurance adjuster to trigger the release of that final depreciation payment.
If you’re looking at your deductible and feeling a bit stretched, exploring options for roof replacement loans can be a great way to bridge the gap without emptying your savings. Handling these last few steps correctly is what gets your claim across the finish line smoothly.
Common Questions About the Roof Claim Process
Even when you follow every step perfectly, the whole insurance claim process can feel like a maze. If you've got questions swirling, you're not alone. Let's tackle some of the most common things we hear from Birmingham homeowners to help you feel more confident moving forward.Getting a handle on these details can save you from some serious headaches and costly mistakes down the road. Honestly, knowing the typical procedures and what your rights are is your best defense for getting a fair outcome.
How Long Do I Have to File a Roof Claim After a Storm?
This is a big one, and the answer is hiding in your policy documents. While it can vary, most insurance policies here in Alabama give you one year from the date the storm hit to file your claim.But let me be clear: waiting is a terrible idea. You need to report the damage as soon as you can safely get a look at it. If you drag your feet, you’re giving the insurance company an easy reason to argue that any further damage—like a small leak that turned into a huge interior problem—is your fault for not acting sooner. Dig out your policy and look for a section called “Duties After a Loss” to find your exact deadline.
Will Filing a Roof Claim Make My Insurance Premium Go Up?
This is the number one fear I hear from homeowners, and it's mostly a myth. In general, filing a single claim for storm damage—what the industry calls an "Act of God"—will not cause your individual premium to spike. Insurers usually can't penalize you for things that are completely out of your control.Here’s the thing, though: While your rate might not go up because of your one claim, a massive storm event can affect the whole region. If a tornado outbreak rips through central Alabama and insurers have to pay out a ton of claims, everybody's rates in the area might creep up over time. It’s about their overall risk, not just you.And no, it's generally illegal for an insurance company to drop your policy just because you filed one weather-related claim.
What if the Insurance Company Denies My Roof Claim?
Getting that denial letter in the mail is a gut punch, but it’s not the end of the road. Don't panic. The very first thing you need to do is read that letter from top to bottom and understand exactly why they denied it. Usually, it boils down to a few reasons:- Policy Exclusions: They're saying the specific type of damage you have isn't covered.
- Insufficient Evidence: They don't agree that a storm caused the damage.
- Wear and Tear: This is a classic. They'll argue the roof was just old and failed on its own.
Navigating all these moving parts is so much easier when you have an expert in your corner. At Higher Roof Solutions, we deal with insurance claims day in and day out, making sure nothing gets missed. If you’re hitting a wall with your roof insurance claim in the Birmingham area, give us a call for a free inspection and some straightforward advice. Visit us at https://higherroofsolutions.com.