A healthy attic needs to breathe. It’s a simple concept, but one that’s absolutely critical for the health of your entire home. The basic idea is to create a constant, gentle flow of air: cool, fresh air comes in through low vents (like in your soffits), and hot, stale air escapes out through high vents (like a ridge vent). This simple convection current is your home’s first line of defense against brutal Alabama heat and damaging moisture.
Why Your Attic Needs to Breathe
Before you even think about climbing a ladder, let's talk about why this is so important. I like to think of an attic as the lungs of a house. It has to inhale and exhale properly to keep everything else working right. When it can't, you're setting yourself up for some serious problems, no matter the season.During a blistering Alabama summer, a poorly ventilated attic can easily top 150°F. That’s not just uncomfortable; it’s an oven baking your home from the top down. All that trapped heat radiates into your living spaces, making your AC unit work overtime just to keep up. You’ll feel it in your comfort, and you’ll definitely see it on your power bill.
That intense heat is also cooking your roof. Shingles are tough, but they aren’t designed to be baked from both sides. When the attic below is superheating the roof deck, your shingles start to curl, crack, and lose their protective granules. This can shave years off your roof’s lifespan, turning a minor issue into a major, costly replacement project.The Dangers of Trapped Moisture
The fight doesn’t stop when the weather cools down. In winter, your biggest enemy shifts from heat to moisture. Everyday things like showering, cooking, or even just breathing put warm, moist air into your home. That vapor naturally rises, and if it finds its way into your attic, it’s going to cause trouble.
When that warm, humid air hits the cold surface of your roof sheathing, it condenses—turning right back into water. This creates a damp environment that’s a perfect breeding ground for mold and mildew, which can tank your home’s air quality and even lead to health problems. Over time, that constant dampness also causes wood rot, slowly compromising the structural integrity of your roof.
One of the most destructive signs of poor winter ventilation is an ice dam. Heat escaping into the attic melts snow on the roof, but the water refreezes when it hits the cold eaves. This creates a literal dam of ice that traps water behind it, forcing it under your shingles and causing serious leaks and water damage.
A Smart Investment in Your Home
Getting your attic ventilation right isn't just another chore on the list; it's a foundational part of a healthy, efficient house. When you get the airflow right, the benefits are real and immediate.- Lower Energy Bills: By kicking that extreme summer heat out of your attic, you take a huge load off your air conditioner. Studies have shown that a properly ventilated attic can slash cooling costs by up to 10-15% in climates like ours.
- Longer Roof Lifespan: Protecting your shingles and the underlying wood deck from heat and moisture is the best way to add years to the life of your roof.
- Improved Indoor Air Quality: A dry, mold-free attic means cleaner, healthier air for your family to breathe. It's also worth understanding ductwork ventilation, since your HVAC system often runs through the attic space and can be affected.
- Enhanced Structural Integrity: Stopping condensation before it starts prevents wood rot, protecting the trusses and sheathing that hold your roof up. The combination of good airflow and proper attic insulation is the key to safeguarding your home's backbone.
How to Check Your Current Attic Ventilation
Before you can even think about improving your attic's airflow, you have to play detective. A quick look at your current setup will tell you everything you need to know about its health. This is your starting point, and honestly, it’s the most important step in figuring out how to properly ventilate your attic.First things first, what kind of vents are you working with? A lot of Alabama homes have a passive system, which usually means they have intake vents down low and exhaust vents up high.
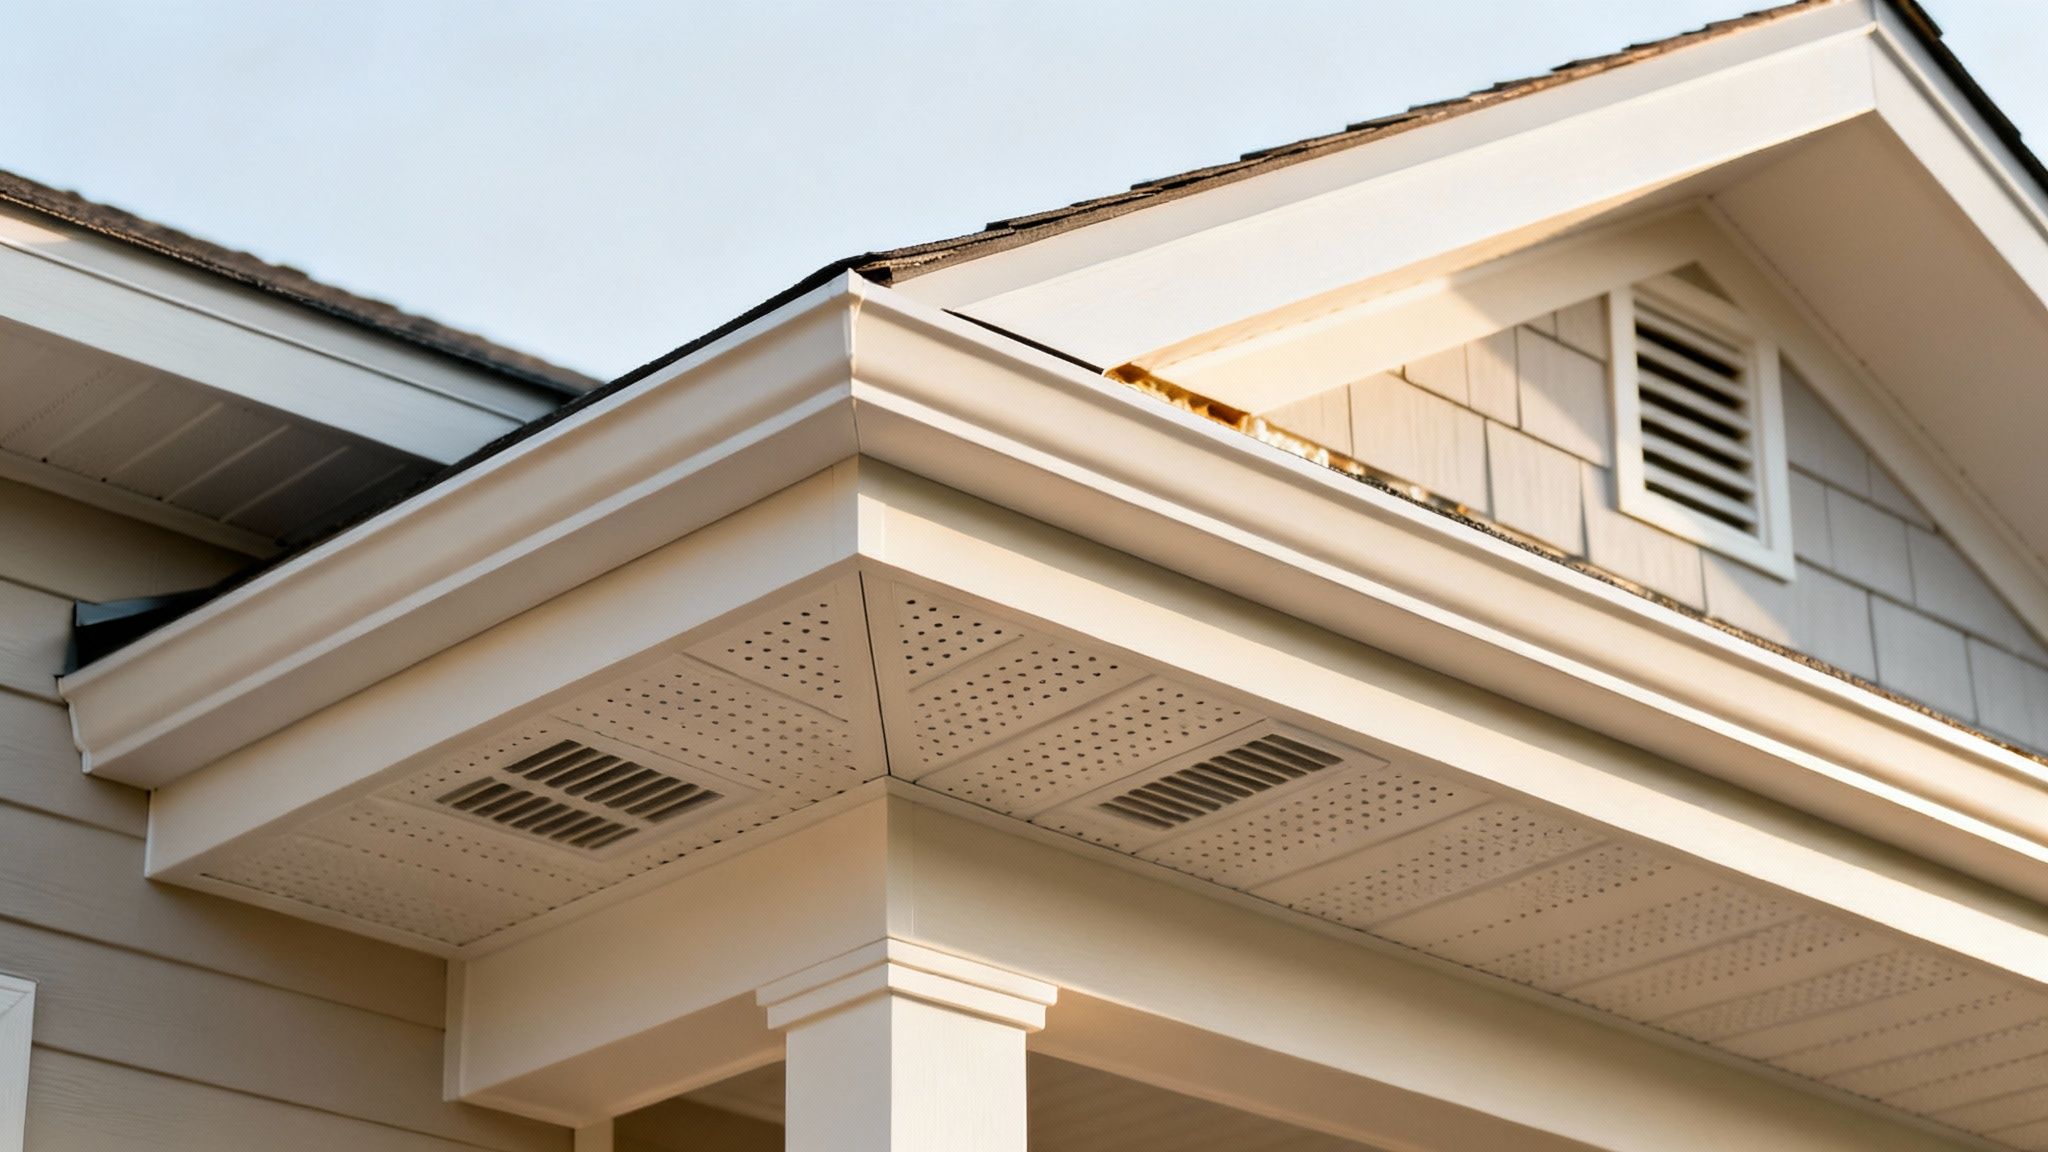
- Intake Vents: Look under the eaves for small, rectangular grilles. These are soffit vents, the most common way to pull fresh air in.
- Exhaust Vents: Check the very peak of your roof for a ridge vent that runs along the entire roofline. You might also spot older styles like box vents (those static square things), turbine vents that spin in the wind, or gable vents on the walls at each end of the attic.
Signs of an Unhealthy Attic
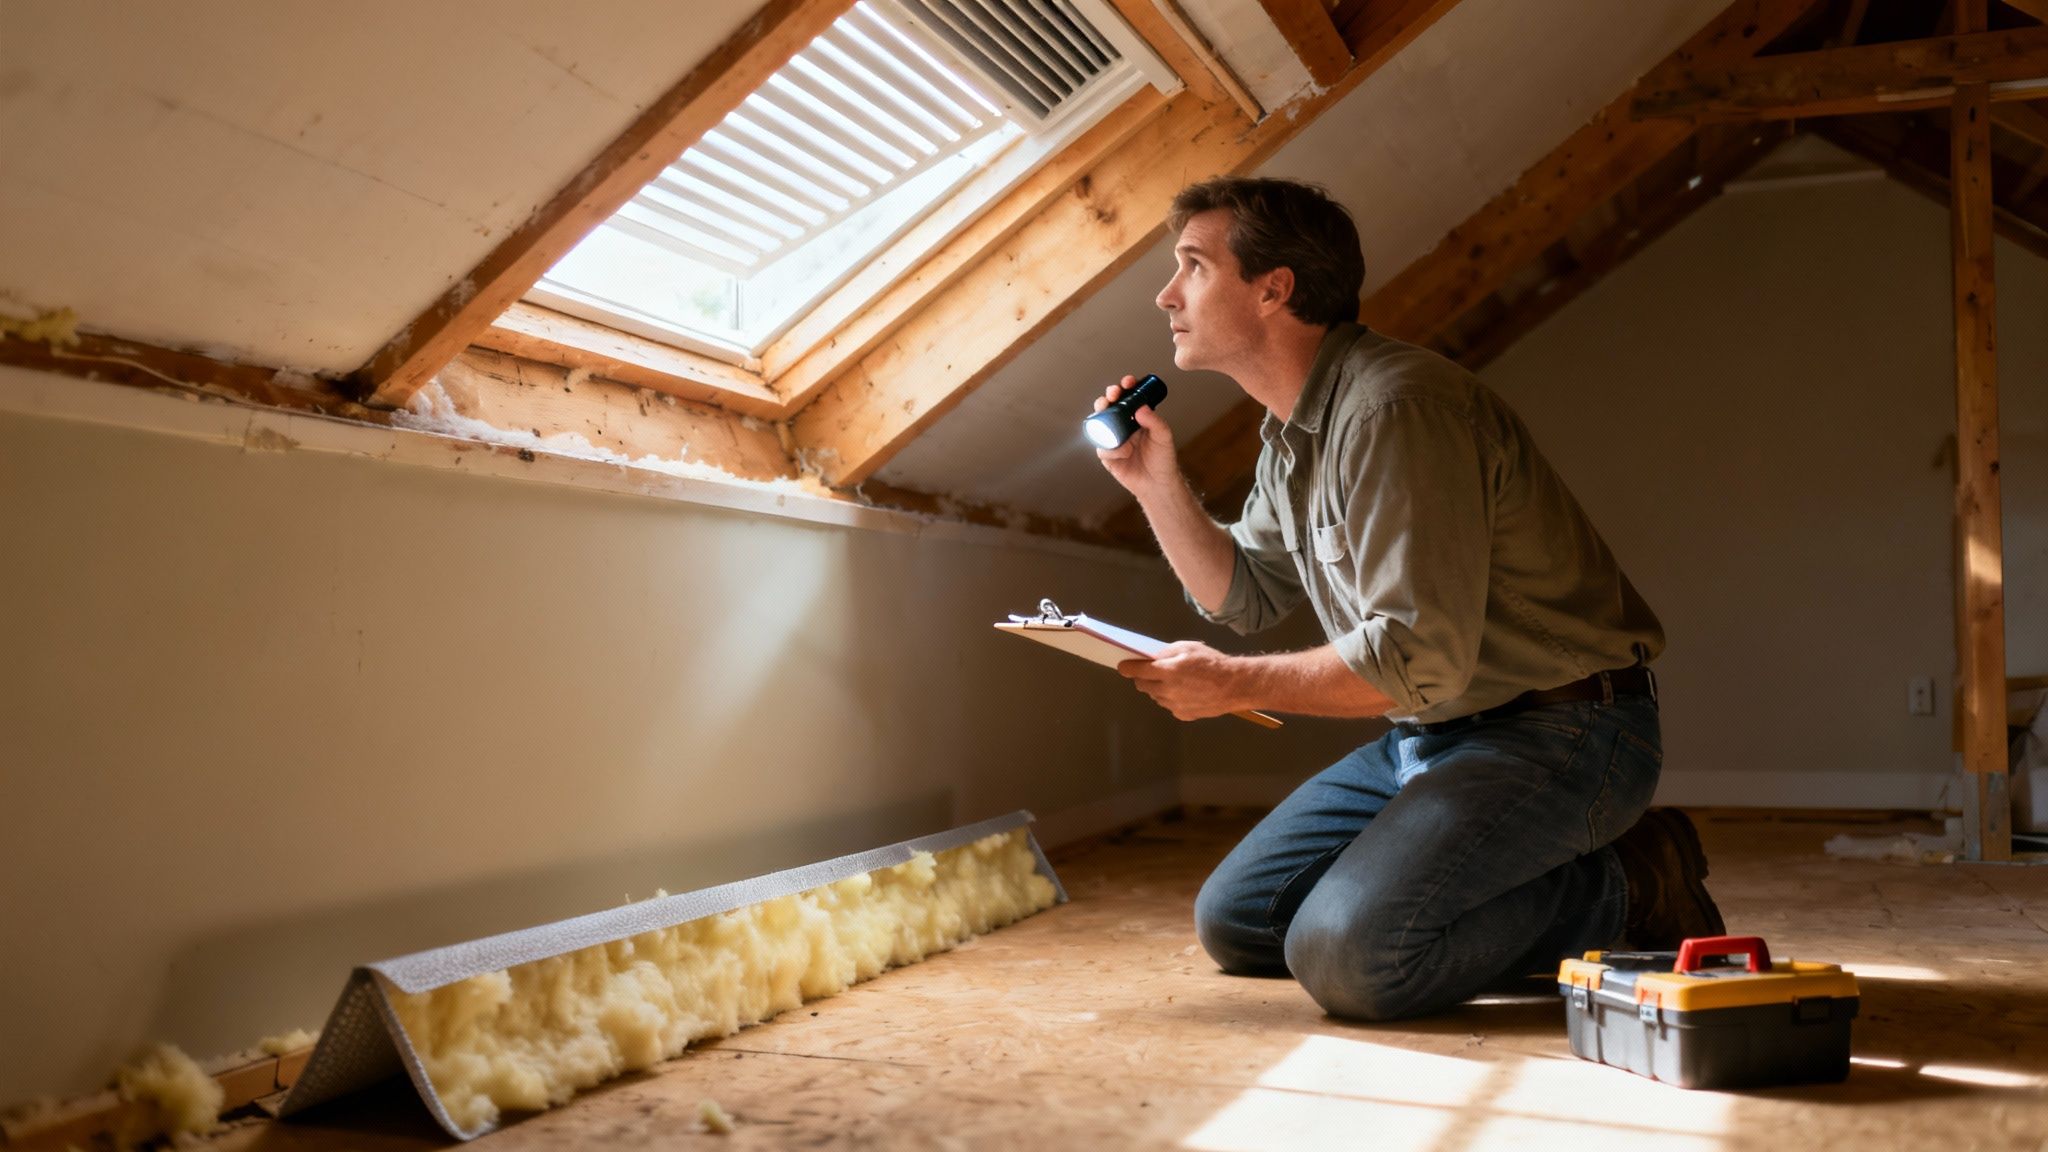
Once you know what vents you have, it's time to hunt for trouble. Your attic has its own way of telling you it can't breathe.The number one problem I see is blocked intake. Soffit vents are notorious for getting clogged up with insulation, either because it was blown in too close to the edge or it just settled over the years. This chokes off the supply of cool air, basically making your exhaust vents useless.
Another huge red flag is any sign of moisture. Get a good look at the underside of your roof decking. You’re looking for:
- Dark Water Stains: These show where condensation has been dripping.
- Frosty or Rusty Nail Heads: When warm, moist air from your house hits those cold nails sticking through the roof, the water condenses on them, causing rust or even frost in the winter.
- Mold or Mildew: Any black or gray splotches on the wood mean you've had a persistent moisture issue.
The Daylight Test and Other Pro Tips
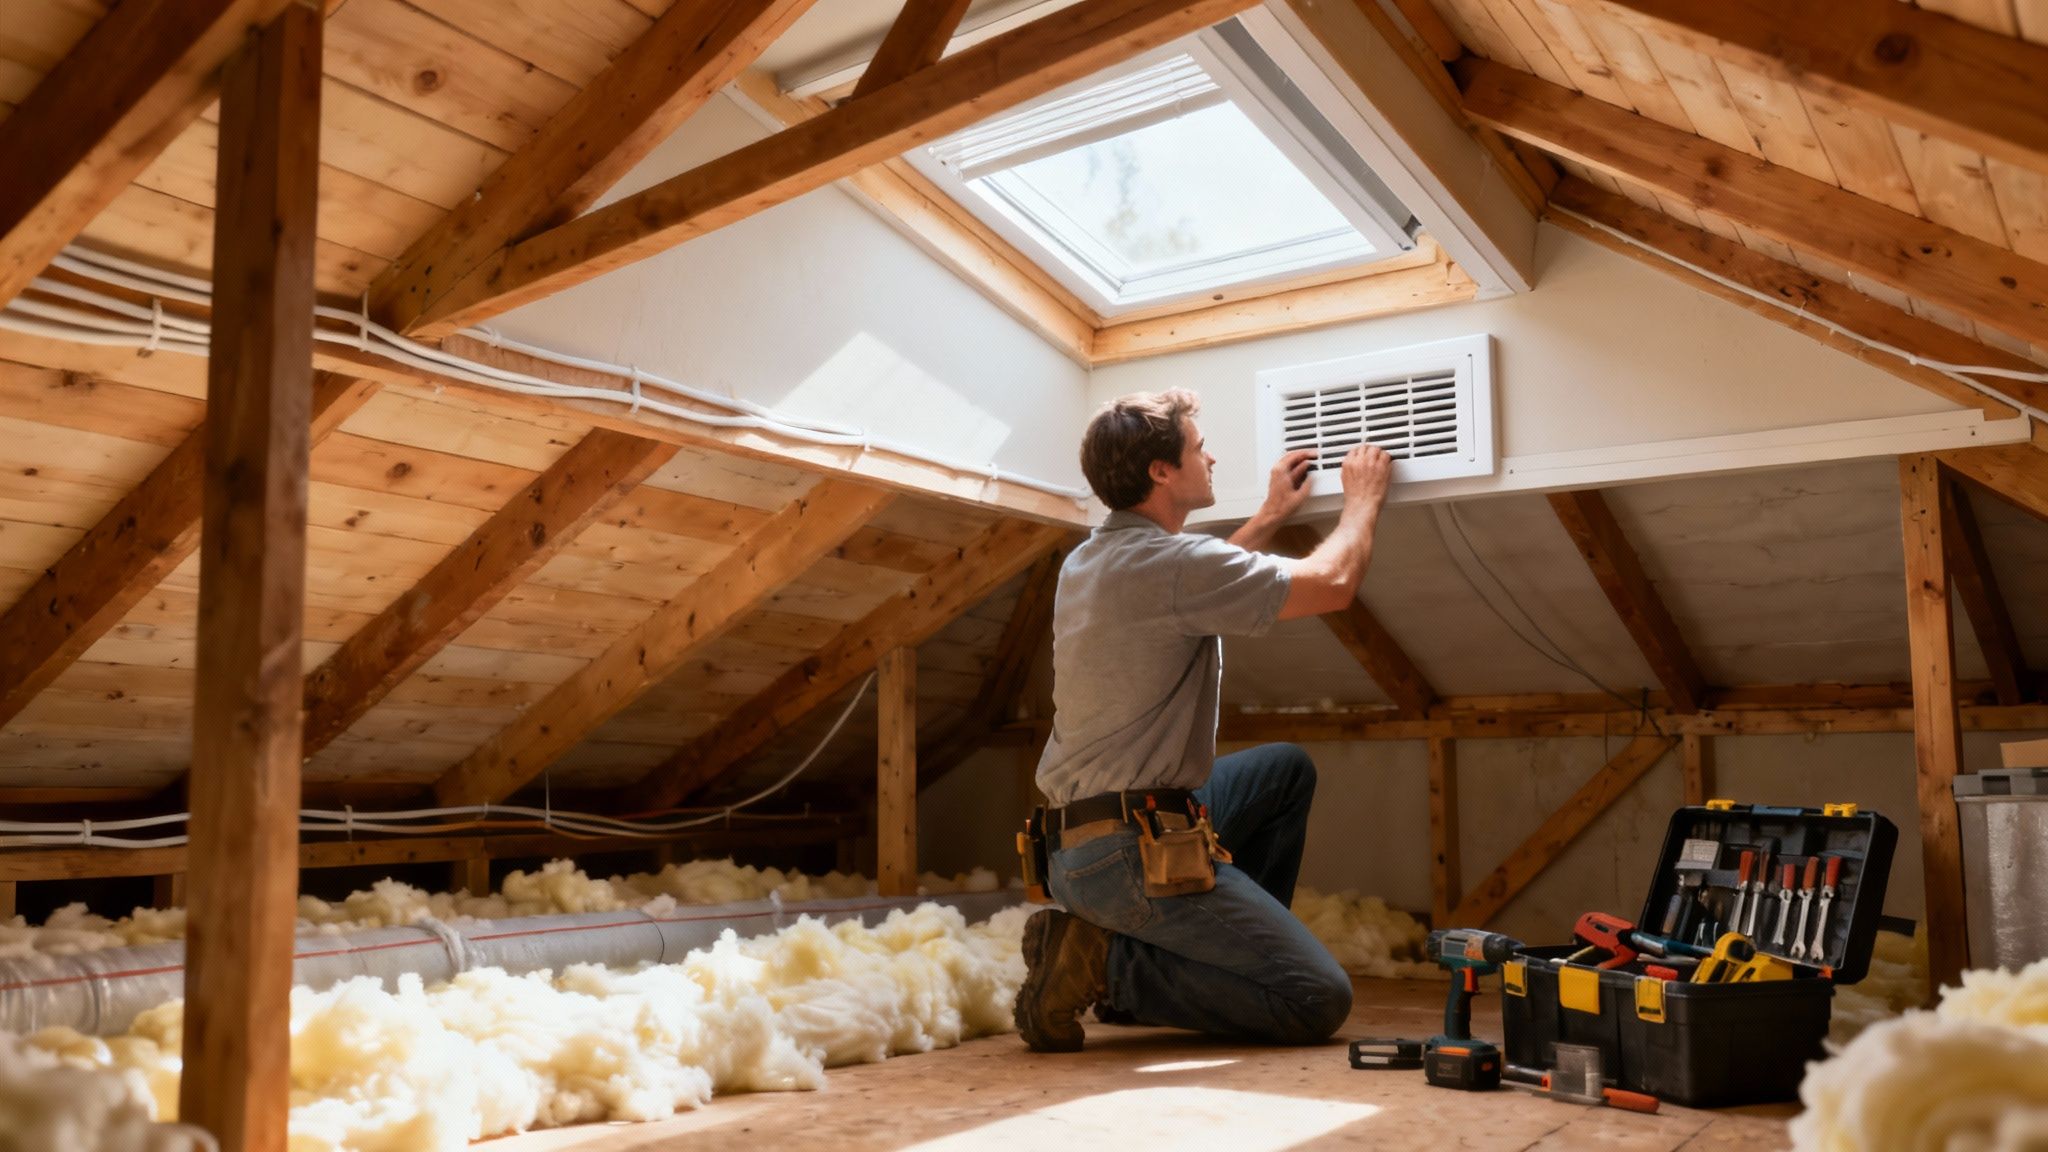
Here's a simple trick I tell homeowners all the time. On a bright, sunny day, go up into your attic and kill the lights. Look down toward the eaves where the roof meets the exterior walls.If your intake vents are clear, you should see little slivers of daylight shining through all along the soffits. See nothing but darkness? Your insulation is almost certainly blocking the airflow.This is an instant visual check that tells you if your intake is working. While you're up there, just feel the air. Does it feel way hotter and stuffier than it is outside? That's a classic sign that hot air is getting trapped instead of being pushed out.
If you spot any of these problems—blocked soffits, moisture stains, or no daylight—it’s time to get it fixed. For a deeper look, a professional can spot hidden issues you might miss. Our team offers thorough roof inspections that cover the whole system, including a detailed ventilation assessment, to give you the complete picture.
Getting the Numbers Right: How Much Airflow Does Your Attic Need?
Figuring out your attic’s ventilation is a bit of a numbers game, but don’t worry, it’s not complicated. We’re not just guessing here; there are industry standards that make it pretty straightforward. The whole process boils down to one key term: Net Free Area (NFA).
Think of NFA as the actual open space in a vent that air can move through. It’s measured in square inches, and you’ll find this number printed on the packaging or spec sheet for any vent you buy. Your job is to make sure the total NFA of all your vents adds up to what your attic needs.
The Two Golden Rules for Attic Airflow
So, how much NFA do you need? It all starts with the size of your attic. Grab a tape measure and find your attic's square footage—just the length times the width of your home's footprint is all it takes.With that number in hand, you can use one of two simple rules:
- The 1/300 Rule: This is the go-to standard for most homes today. It calls for 1 square foot of NFA for every 300 square feet of attic floor space. If your home has a vapor barrier in the ceiling (which most modern homes do), this is the rule for you.
- The 1/150 Rule: For older homes, especially those without a modern vapor barrier, you’ll want to use the more aggressive 1/150 rule. This doubles the ventilation to 1 square foot of NFA for every 150 square feet of attic space. It’s all about giving that extra moisture an easy escape route.
Let's Do the Math: A Real-World Example
Putting this into practice makes it crystal clear. Let's say you're working with a 1,500 square foot attic and your house has a vapor barrier. We'll use the 1/300 rule.First, find the total NFA in square feet.
- 1,500 sq ft ÷ 300 = 5 square feet of total NFA.
- There are 144 square inches in a square foot (12 inches x 12 inches).
- 5 sq ft x 144 = 720 square inches of total NFA.
I've seen countless ventilation systems fail because they weren't balanced. A good passive system works because of the "stack effect"—cool air comes in low (intake) and pushes hot, moist air out high (exhaust). To make that happen, you have to split your NFA right down the middle between the two.
The All-Important 50/50 Balance
Using our example, that 720 square inches of total NFA needs to be divided perfectly in two.- Intake NFA needed: 720 ÷ 2 = 360 square inches
- Exhaust NFA needed: 720 ÷ 2 = 360 square inches
Get this wrong, and you’ll create new problems. Too much exhaust can create negative pressure, literally sucking your expensive conditioned air from your living room straight into the attic. On the flip side, too much intake with nowhere for the air to go just leaves that hot, humid air trapped upstairs.
By getting your total NFA right and splitting it evenly, you lay the groundwork for a system that actually breathes.
Common Vent Types and Their Average Net Free Area (NFA)
To help you figure out how many vents you'll need to hit your target numbers, here’s a quick look at the average NFA provided by common vent types. Keep in mind that these are just averages—always check the manufacturer's specs for the exact NFA of the products you choose.| Vent Type | Vent Location | Average NFA (Square Inches per Unit/Foot) | Best For |
|---|---|---|---|
| Soffit Vents (Rectangular) | Intake (Under Eaves) | 20-50 per vent | Continuous low intake |
| Continuous Soffit Vents | Intake (Under Eaves) | 9-18 per linear foot | Maximizing intake along the roof edge |
| Ridge Vent | Exhaust (Roof Peak) | 18-20 per linear foot | Even, continuous exhaust along the peak |
| Gable Vents | Exhaust (Gable Walls) | 50-100 per vent | Older homes or roofs without a ridge |
| Box Vents (Louvered) | Exhaust (Roof Surface) | 50-60 per vent | Targeted exhaust on specific roof planes |
| Turbine Vents (Whirlybird) | Exhaust (Roof Surface) | 110-150 per vent | Areas with consistent wind |
Installing and Upgrading Your Attic Vents
This is where the rubber meets the road. You've done the math, you've got your numbers, and now it's time to get hands-on with the vents that will finally let your attic breathe. We're going to walk through the most common and effective projects you can tackle to make a real difference.Mastering Soffit Vent Installation for Proper Intake
Everything starts with intake. Without a clear path for cool, fresh air to get in, the best exhaust vents in the world won't do a thing. Soffit vents, tucked away neatly under your roof's eaves, are the industry standard for providing this essential airflow.Before you start, get your tools lined up. Trust me, having everything within arm’s reach makes the job go ten times smoother.
- Your Soffit Vent Toolkit:
- Safety First: Don't even think about it without safety glasses and a good pair of gloves.
- Measure & Mark: A tape measure, pencil, and a chalk line are your best friends for keeping things straight.
- Cutting: A jigsaw or a reciprocating saw with a fine-tooth blade will give you the cleanest cuts.
- Drilling: A cordless drill is perfect for pilot holes and driving screws.
- Fasteners: Make sure to use corrosion-resistant screws. Alabama humidity is no joke.
Now for the fun part: cutting. Drill a starter hole in each corner of your outline so you have a place to drop your saw blade. Take your time and follow the lines with your jigsaw for a nice, clean opening. The new vent should fit in snugly. Screw it into place, making sure it sits flush against the soffit for a clean, professional look.
Installing Baffles: The Unsung Heroes of Airflow
Putting in soffit vents is only half the battle. Your biggest enemy is often your own insulation. If it's packed tightly against the edge of your roof, it's like putting a cork in your brand-new vents. This is exactly why baffles are non-negotiable.Baffles—sometimes called rafter vents or insulation stops—are just simple plastic or cardboard channels. You install them between the rafters on the underside of your roof deck, creating a protected airway from the soffit right up into the attic.
Think of a baffle as a dedicated wind tunnel for your intake air. It's a guarantee that no matter how deep and fluffy your insulation is, fresh air will always have a clear, unobstructed path. Skipping baffles is the #1 mistake I see in DIY jobs, and it completely negates all the work of installing the vents.Putting them in is pretty straightforward. You just staple them to the roof sheathing inside each rafter bay that has a soffit vent below. The key is to make sure the baffle extends from the top plate of the wall all the way past the top of the insulation, giving you a clear channel a couple of inches high.
Upgrading to a Continuous Ridge Vent for Exhaust
Okay, you've got the cool air coming in. Now you need to give the hot, moist air a clear exit sign. While you might have box vents or turbines, nothing beats a continuous ridge vent for passive exhaust. It runs the entire length of your roof's peak, creating the most efficient and even exit point for that rising hot air.I’ll be honest, this is a more involved job. You’re going to be working on the roof, so safety has to be your absolute top priority. If your roof is wet, or if you have a steep pitch, don’t even attempt it without a proper safety harness and fall protection.
First, you’ll need to carefully pry off and remove the existing ridge cap shingles. Next, you have to cut a slot in the roof sheathing along the very peak. This is the opening that lets the attic air escape.
Cutting the Ridge Slot Correctly:
- Mark Your Lines: Snap chalk lines down both sides of the ridge. A good rule of thumb is about one inch down from the absolute peak. This leaves the ridge board itself untouched.
- Set Saw Depth: This is critical. Adjust the blade on your circular saw so it cuts only through the sheathing, not the rafters underneath. Damaging rafters is a costly mistake.
- Make the Cut: Guide your saw carefully along the chalk lines on both sides to open up the slot.
Choosing the Right Ventilation Products
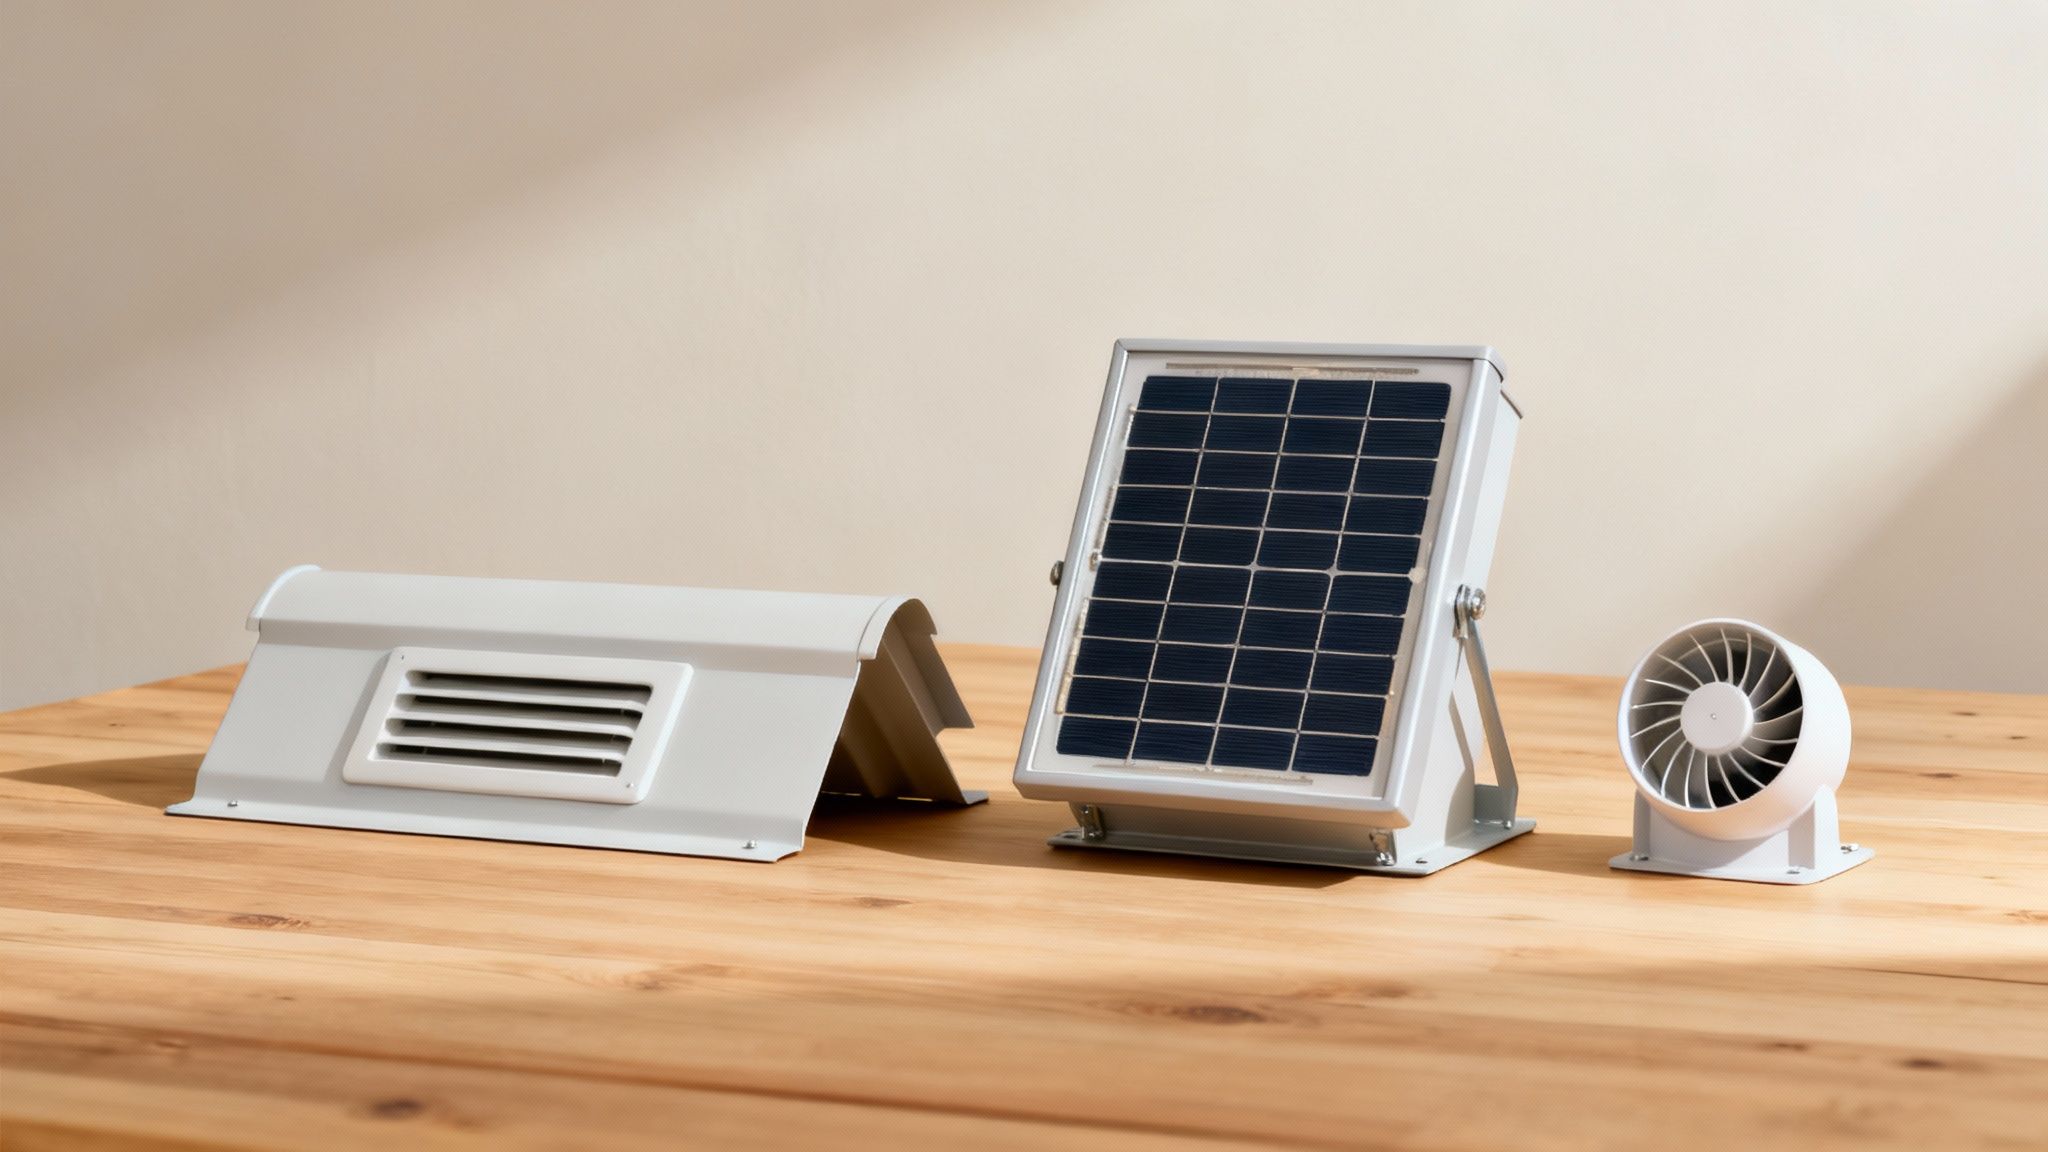
Walking into a home improvement store to pick out attic vents can feel like a pop quiz you didn't study for. You’re hit with a wall of options, from simple grilles to solar-powered fans, and it’s tough to know what your home actually needs. The right choice is key to a system that works, and it really comes down to two different philosophies: passive versus active ventilation.Passive systems are the quiet workhorses. They don’t use any electricity, relying instead on the simple physics of hot air rising (convection) and wind to move air through your attic. This makes them incredibly reliable and cheap to run—as in, free.
Active systems, on the other hand, are the power players. They use electric or solar-powered fans to physically pull air out of the attic. While they can move a ton of air, they also introduce mechanical parts that can break down. If they aren’t part of a perfectly balanced system, they can even drive up your energy bills.
Why We Almost Always Recommend Passive Ventilation
For the vast majority of homes, especially here in Alabama, a well-designed passive system is the way to go. There’s a reason the combination of continuous soffit vents (for intake) and a continuous ridge vent (for exhaust) is considered the gold standard.- It’s Reliable: With zero moving parts, there's absolutely nothing to break. This system just works, silently and effectively, every single day for the life of your roof.
- It’s Efficient: A passive system costs $0 to operate. It won't add a dime to your power bill, which is a huge win for your home's overall energy efficiency.
- It Performs in All Weather: While we don't get much snow, ridge vents are great at preventing ice dams in colder climates. They let heat escape evenly across the roof's peak, which keeps the whole surface cold and stops the damaging melt-and-freeze cycle.
A properly balanced passive system is a true "set it and forget it" solution. It self-regulates with the temperature and wind, giving your attic exactly the airflow it needs without you ever having to think about it. It's the most foolproof approach out there.
When an Active System Might Make Sense
Now, while passive is usually best, there are a few specific scenarios where an active vent, like a solar attic fan, can be a smart addition. They should never be used to make up for poor intake, but they can solve unique problems.Think about homes with complex rooflines—lots of hips and valleys. These roofs might not have a long enough ridge to install an effective ridge vent. In a case like that, a solar attic fan can provide that extra exhaust power without adding to your electricity costs, since it only runs when the sun is beating down—exactly when you need it most.
It’s part of a bigger trend, too. The global ventilation market is expected to grow from $34.28 billion in 2025 to $59.06 billion by 2032, largely because of new building codes and a focus on efficiency. You can dig into the numbers in the full Fortune Business Insights report.
At the end of the day, the right choice always depends on your home’s unique layout and our local climate. But for most homeowners, investing in a robust passive ridge and soffit vent system is the most reliable, cost-effective, and long-lasting way to get a healthy, breathable attic.
Of course, even the best-laid plans can hit a snag. When you’re figuring out how to ventilate your attic, a few common questions always seem to pop up and can stop a DIY project dead in its tracks. Let’s get them cleared up so you can be confident your hard work will pay off.
Can You Have Too Much Attic Ventilation?
This is probably the number one question I hear. The short answer is yes, but the real villain here isn't too much airflow—it's an imbalance.When you have way more exhaust than you have intake, you create negative pressure. Your attic will try to pull air from anywhere it can, and that usually means sucking the conditioned air you’re paying for right out of your living space. Your HVAC system has to work overtime, and your energy bills will show it.
Worse, this imbalance can even be dangerous. It can cause a backdraft from gas furnaces or water heaters, pulling dangerous fumes like carbon monoxide back into your home. The fix is simple: stick to the 1/150 or 1/300 rule and keep your intake and exhaust split right down the middle, 50/50.
Is Attic Ventilation Really Necessary in the Winter?
Absolutely. Winter ventilation is just as crucial as it is in the summer, but for a totally different reason: fighting moisture.All the warm, humid air from daily life—showering, cooking, even breathing—rises into your attic. When that warm air hits the freezing cold underside of your roof deck, it condenses, and suddenly you have water where you don’t want it.
This is a recipe for disaster. Trapped moisture leads to:
- Wood Rot: It can literally eat away at the structural integrity of your roof.
- Mold and Mildew: This is a serious threat to your home's air quality.
- Soggy Insulation: Once insulation gets wet, it's pretty much useless.
A huge misconception is that you should block your vents in the winter to keep heat in. That's one of the worst things you can do. The tiny bit of heat you might lose is nothing compared to the thousands you could spend on rot and mold repair. A healthy attic needs to breathe all year long.
Are Powered Attic Fans a Good Idea?
Powered attic ventilators (PAVs) seem like a quick fix because they move a ton of air. The problem is, they often create the exact imbalance issue we just talked about.If your soffit vents can’t provide enough intake air to feed the fan, it’s going to pull that air from the path of least resistance—your living room, through gaps in the ceiling.
For most homes here in Alabama, a well-designed passive system using soffit and ridge vents is far more effective and won’t add a dime to your electric bill. Solar-powered fans can be a decent option, but only if a passive system isn’t possible and you’ve confirmed you have more than enough intake NFA to support it.
Getting these details right is what makes an attic ventilation project a true success. If you’re in the Birmingham area and want an expert eye on your attic, the team at Higher Roof Solutions is here to help.
Get Your Free Inspection from Higher Roof Solutions and let us design a system that protects your home for years to come.